Story Maps
Story Maps are the user journey that a user takes in the product, app, website, or platform.
How to create Story Maps?
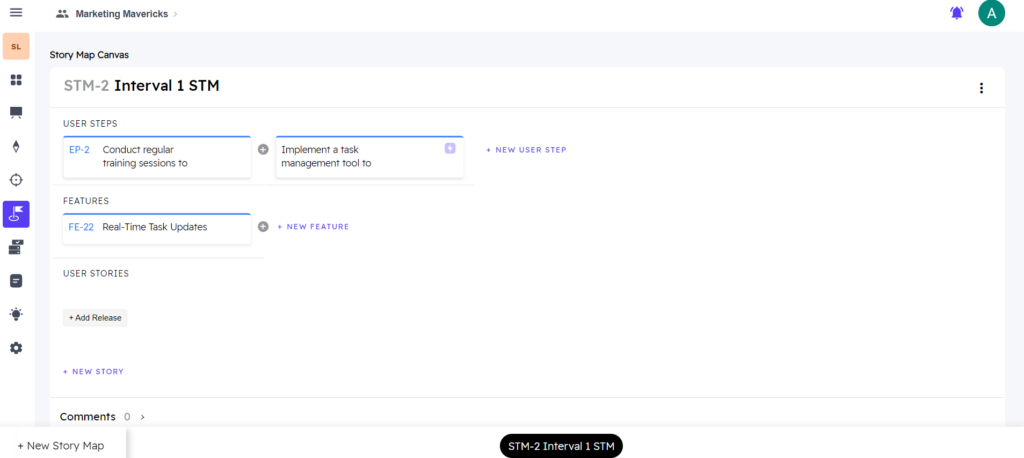
- Navigate to the ‘Story Maps’ from the Left Menu on the Dashboard under Plan.


- The Story Map Canvas appears. Give the appropriate name to the canvas (where ‘Interval 1 STM’ has been written).
2. Now visualize the ‘User Stories’ and create the ‘User Steps’ first, then add ‘Features’ under the User Steps (you can add ‘n’ number of ‘Features’ under ‘User Steps’). Add the ‘User Stories’ for each ‘Feature’ (you can add ‘n’ number of ‘User Stories’ under a ‘Feature’). See the below snapshot for details.

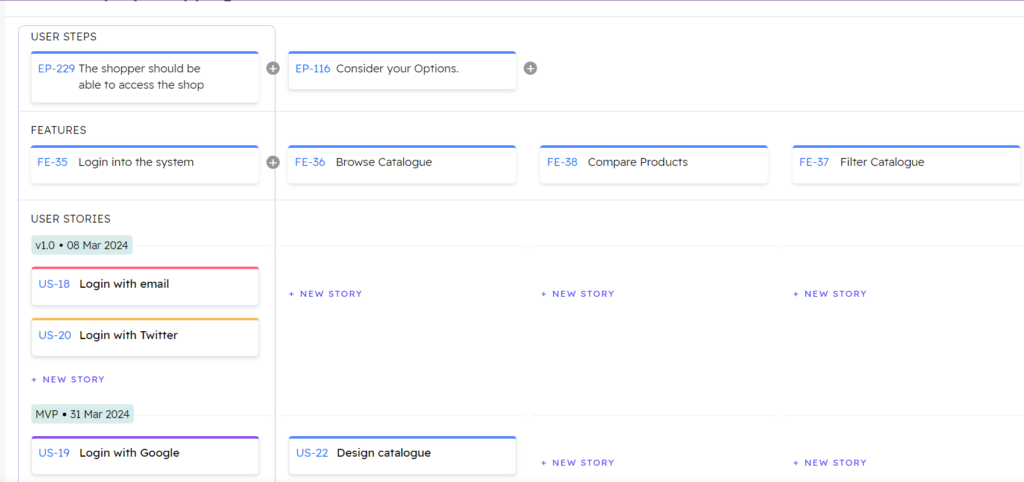
4. Also, add ‘Release Dates’ to these user stories. Give a ‘Release Name’ and the ‘Release Date’ to the New Release.


5. Add ‘New User Stories’ as needed.

Note:
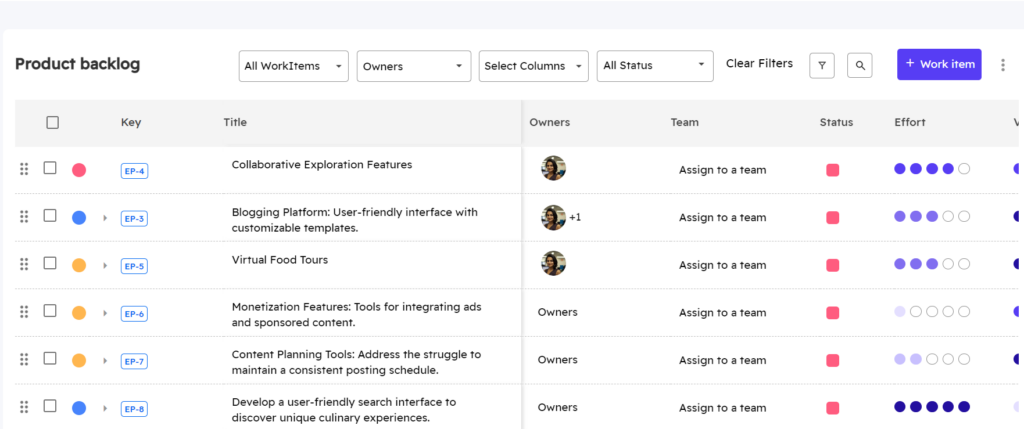
You can alternatively create ‘User Stories’ in the ‘Build → Product Backlog’ (select it from the extreme Left Menu) by adding them manually by clicking the ‘+ workitem’ button. Or in the ‘Backlog’, click on each user story and add the necessary details as needed.