Shorter Loop’s Jira two-way integration syncs Epics, Features, and User Stories with Jira issues instantly. This guide will assist in setting up the Jira Full Sync integration between Shorter Loop and Jira Cloud projects.
Heads Up:
Shorter Loop offers a flexible integration approach. Each product you manage within Shorter Loop can have its own dedicated Jira integration. This allows you to tailor the connection to the specific needs of each product.
Step 1 – Connecting with Jira in Shorter Loop
Option 1:
- Navigate to your Settings. Click on the Settings icon in the bottom left corner of the navigation bar.


2. Navigate to the Apps Tab
You can manage all your integrations from the ‘Integrations’ Tab. Click “Connect” next to Jira in the ‘All Apps’ section.


3. Choose a site you want to connect with the Shorter Loop account.


Option 2:
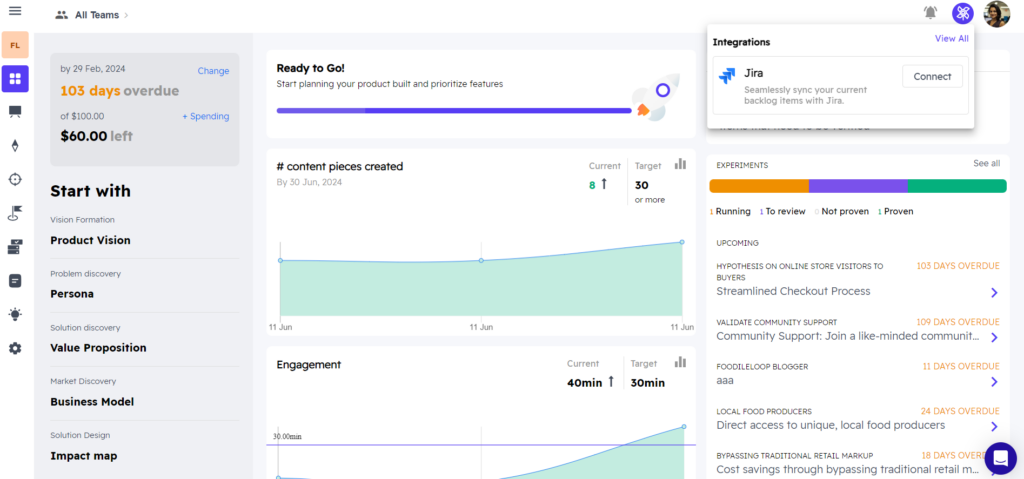
- Look for the Integrations icon on the top right corner of the navigation bar. “Connect” to Jira from the popup.
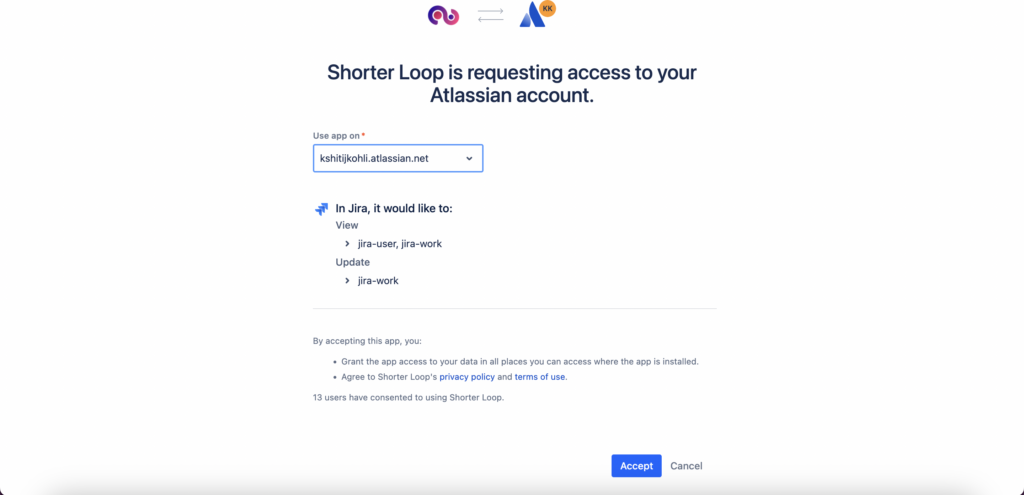
Step 2: Connect your Jira account
- After clicking “Connect,” you’ll be prompted to sign in to your Atlassian account. Select the site from the drop-down.
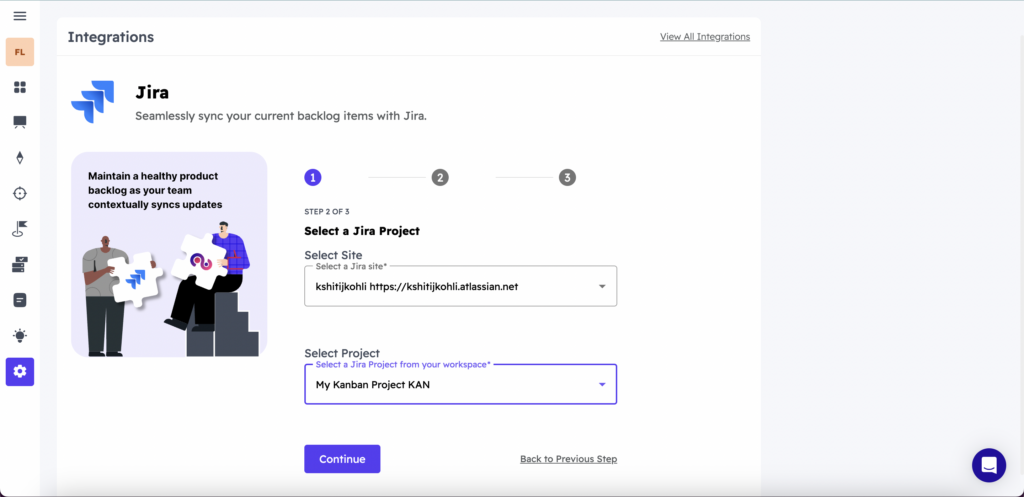
Step 3: Select the Jira site and project
Now that you’re connected, it’s time to tell Shorter Loop which Jira project you want to use.
Here’s what to do:
- Select your Jira site
You’ll likely see a dropdown menu displaying the available Jira sites associated with your Atlassian account. Choose the one that houses the project you want to connect with.
- Pick your project
Once you’ve selected the site, another dropdown will likely appear showcasing the projects within that site. Choose the specific Jira project where you want to map your Shorter Loop’s Work Items.

Step 4: Select work items to sync
Define which Shorter Loop items will sync with their corresponding Jira issues. Here’s how to establish the mapping:

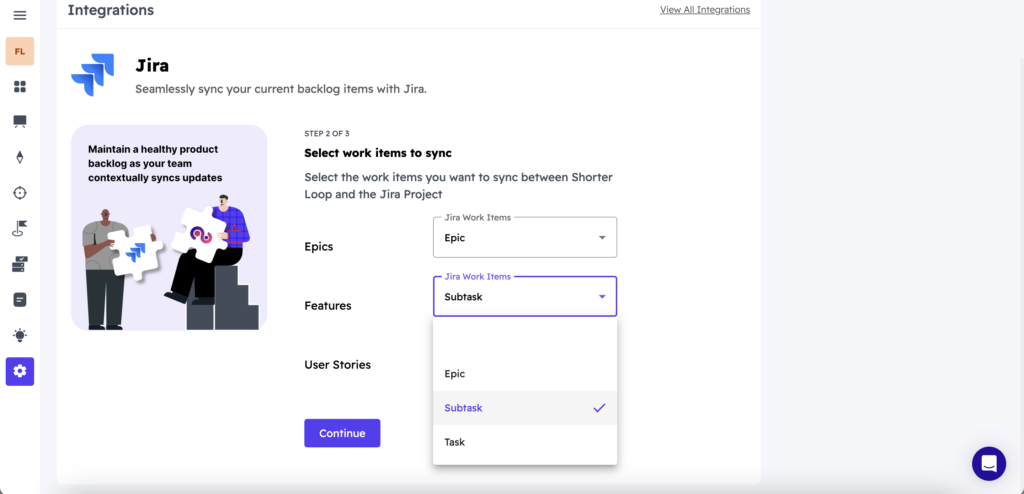

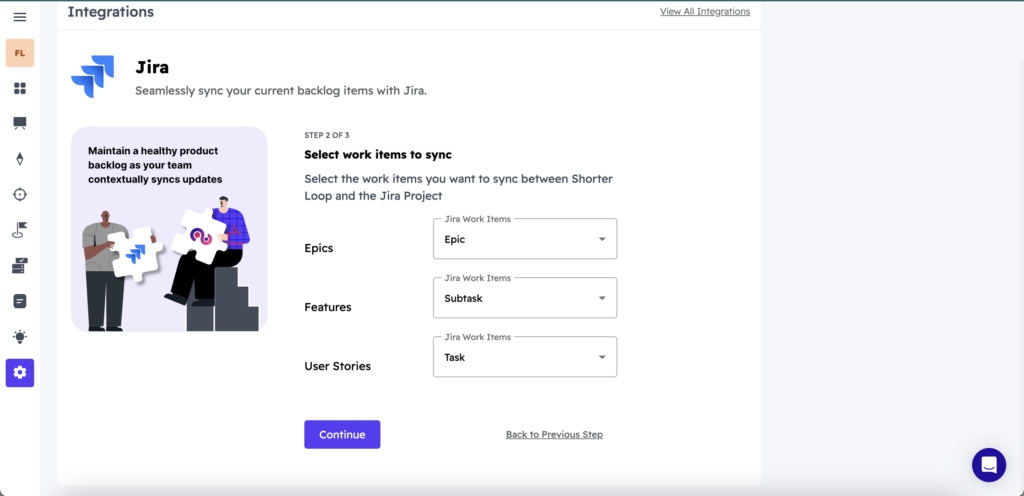
Shorter Loop displays the available Jira issue types (e.g., epics, bugs, features, stories, sub-tasks) on the right. Choose the most fitting Jira issue type for each of your selected Shorter Loop items.
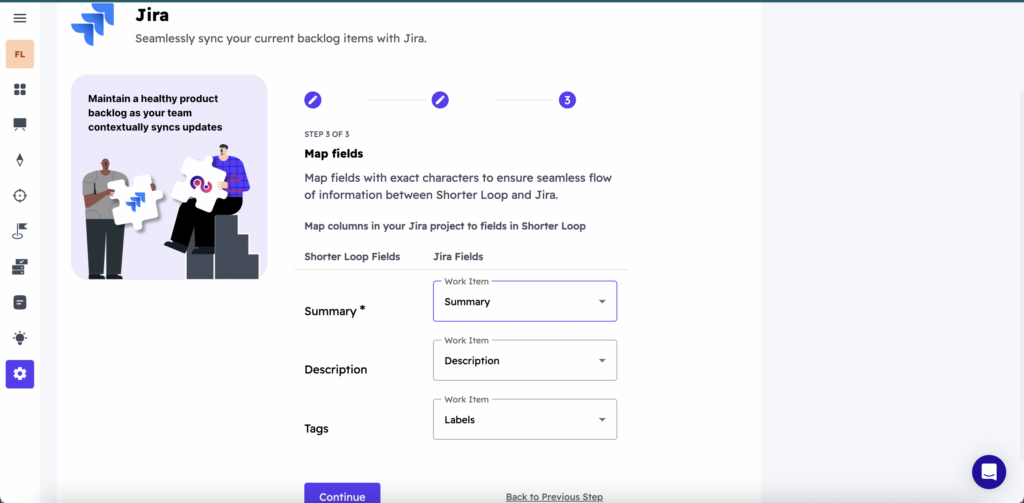
Step 5: Map Idea fields to Jira issue fields
- Map fields with exact characters to ensure a seamless flow of information between Shorter Loop and Jira.
- Shorter Loop displays your fields on the left and the available Jira project columns on the right. Choose the corresponding Jira column for each Shorter Loop field you want to synchronize.

Here is a list of the current field/field type compatible with Jira Full Sync.
| Field | Supported? |
|---|---|
| Title | Yes |
| Description | Yes |
| Parent | Yes |
| JiraKey | Yes |
| JiraSelf | Yes |
| Labels | Yes |
| JiraId | Yes |
Here’s a helpful tip for mapping your work items:
- Shorter Loop Epic = Jira Epic
- Shorter Loop Feature = Jira Feature
- Shorter Loop User story = Jira story
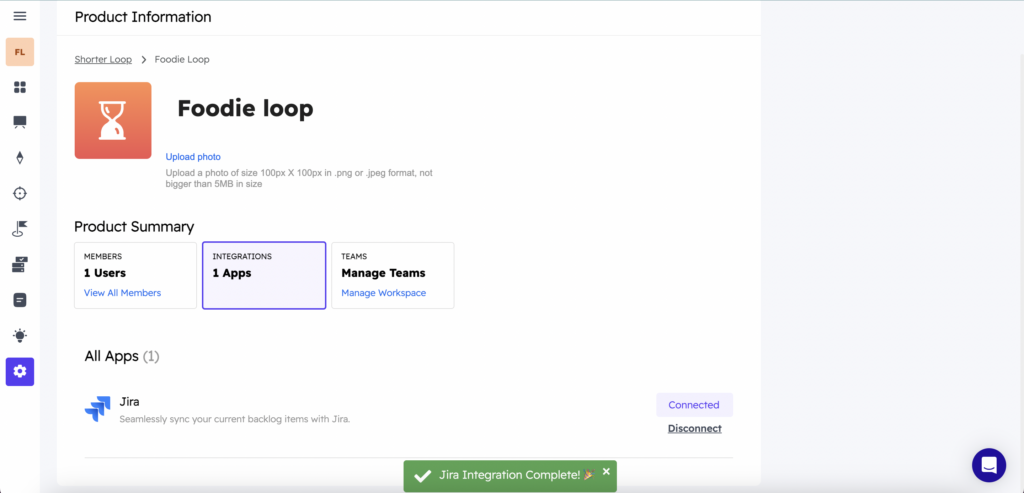
Step 6: Enabling Jira Integration
Once the status mapping is complete, the final step is to enable Jira Sync for your product. This step integrates Jira seamlessly, ensuring that all status updates and workflows are synchronized between systems.

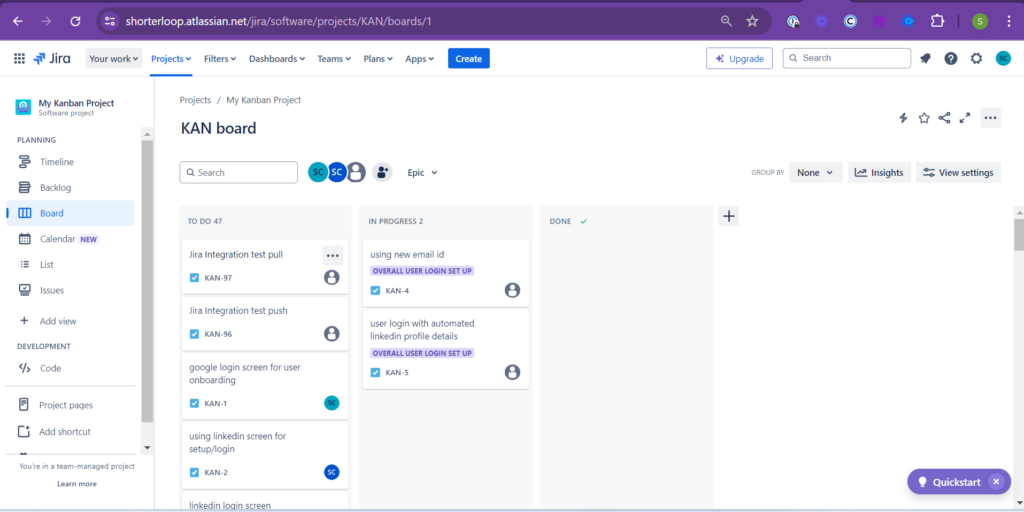
Cross-check your Jira Account
- Log in to your Jira account.
- Select the Project you have connected to Shorter Loop Account.

3. You can find the particular work item under the same status.