What is an Impact Map?
Impact Map is a solution designing canvas to help you build unique solutions and deliverables to shape your product (both MVP and full-fledged product) that has been specially crafted for the targeted customer segments to meet and exceed their needs and create value add. The list of solutions and deliverables will create a positive impact on the persona while tying these to the business goal.
Note: Impact Map is not available in the FREE plan and hence to avail of this, you need to upgrade to any of the price plans.
How to convert from a FREE plan to a Price-based plan?
If you have logged in from shorterloop.com, using the ‘Signup for free’ button (or using the link app.shorterloop.com/register) on the home page or other website pages, then you’re using the Free plan. To be able to use the ‘Impact Maps’ you need to upgrade from your ‘Free Plan’ to a price-based plan from the subscription settings. You can also check our Pricing Page for details to identify which plan works best.
Steps to upgrade to the Priced Plan:
- Log in to your free Shorter Loop account using this link, and then click the yellow ‘Upgrade’ button on the top right (shown in the screenshot below).

- Or, click on the ‘Settings icon’ from the extreme left side of the screen where all other modules icons are present. And then ‘Add new product’. As a part of the free plan, you can manage one product. Hence, clicking ‘Add new product’ will show the ‘Upgrade screen’.
- Click Upgrade. You will see the ‘Price plan dialogue screen’ right there.
- Take up any ‘Plan’ (Startup, Scale-up, or Enterprise) for a Free Trial of 14 days and get an experience of all the features along with the Impact Map by clicking the ‘Upgrade’ button.
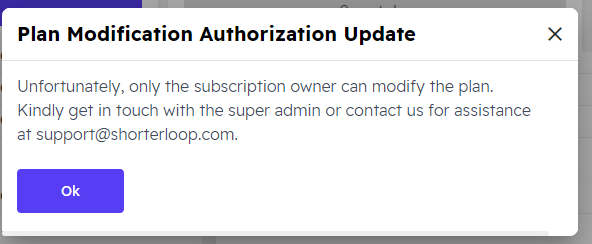
Important Note: If you are not the ‘subscription owner’ you can’t modify your plan. For that reason, contact your admin or contact Shorter Loop at [email protected] for assistance.
For Paid Users – Define your Impact Map
- Start creating an ‘Impact map’ from the Dashboard by clicking ‘Define’ from the extreme left vertical menu as shown in the screenshot below.

2. When you connect your Value Proposition to the Impact Map by clicking the “Create Impact Map” button on the top right of the Value Proposition Canvas (see screenshot below), in that case, you go directly to the Impact Map canvas page. The basic information gets auto-filled on the Impact Map page.

Impact Map Canvas Page:
- Here you get an ‘Untitled Impact Map’ with an ‘Untitled Goal’. Give the appropriate name to your ‘Impact Map’ and add the Goal (it could be your ‘Business Objective’ that you created in Product Vision Canvas or a Goal from the respective ‘Persona Canvas’.
- Your Actors(/Persona) get automatically filled as it is connected to that respective Persona Canvas/Actor. You can add a single actor or multiple actor/personas to the same Impact Canvas page.
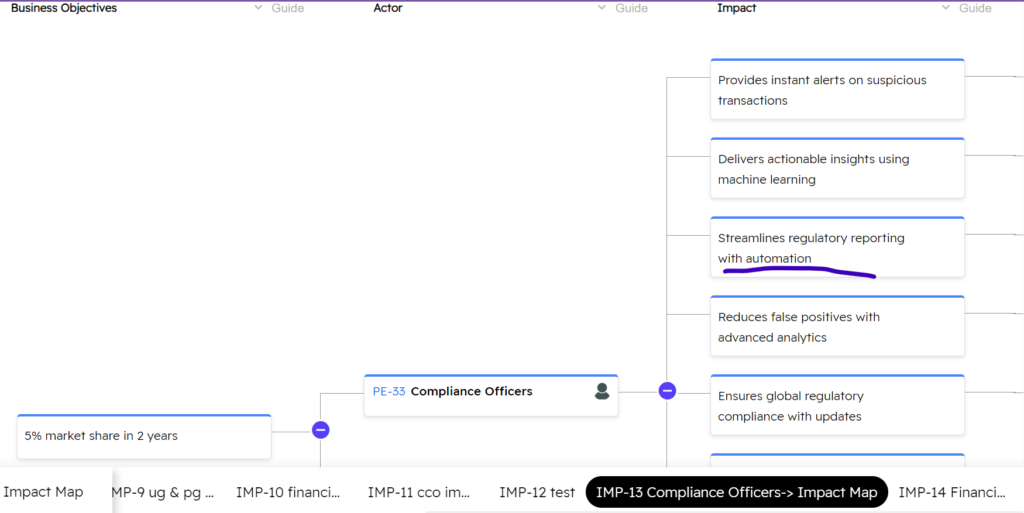
- In the ‘Impact’ field, add each impact detail that you want your actor to take related to the business goal. This impact attribute will drive positive change in the respective actors, making them achieve the business goal.
For example:
If you add one of the impacts as “Streamlines regulatory reporting with automation” for Persona/Actor: ‘Chief Compliance Officer’ meaning if the product has to acquire 5% market share as the ‘Business goal’, then this product should create a positive impact on its main audience: ‘Chief Compliance Officer’ by streamlining regulatory reporting with necessary automation. (see the below screenshot). Similarly, the other important impact should be listed tying to the business goal.
3. Now for each ‘Impact’ attribute, brainstorm on the list of ‘Solutions’ that the company should develop or generate with Shorter Loop AI. You’ll often find the AI-powered Solutions are unique and sometimes some of these you have not thought through. You can turn the required potential solutions into Epics by clicking the ‘Lightning Icon’ as shown in the screenshot to include in the agile product backlog and also add them to your roadmaps (check the below screenshot)
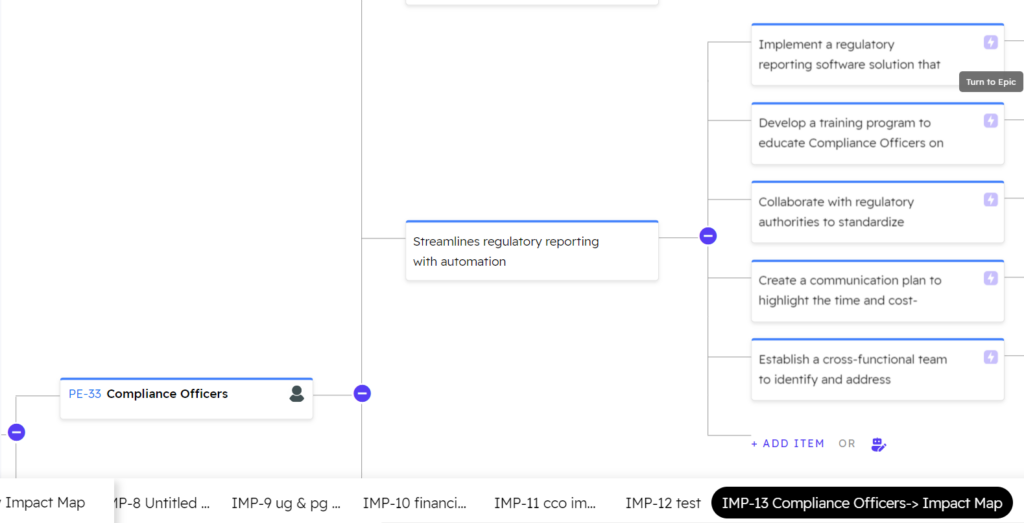
If the generated solutions are NOT according to your desired result, edit the generated solutions or delete them and add new solutions manually.
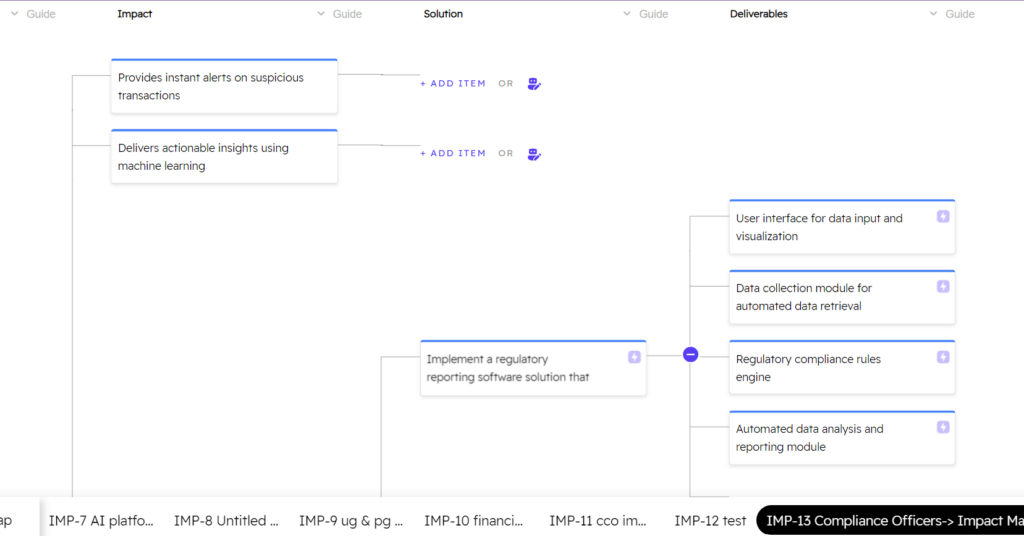
4. Now for each ‘Solution’, develop further the ‘Deliverables’ with or without AI as that will be easy for product teams to understand what needs to be delivered to develop the solution that will create the impact on the respective persona.

If you want to generate the ‘Deliverables’ using AI, click the Shorter Loop AI (generate with AI) button, it will create the list of the deliverables for you – you will find it unique, and of quality (see below screenshot). Plus more significantly, this will help you save hours to create a complete ‘Impact Map’ meant for unique personas. This then leads to achieving your ‘Business Goal’ seamlessly and effectively.
Also Read: How to get started with Shorter Loop Easily?